Whether you are a beginner in embroidering or have been doing it over the years, it is necessary to realise how crucial a good digitizing logo is for your success.
When it comes to digital embroidery is the key component when it comes to the modern-day fashion industry. Not digitizing a logo right can be the determinant of your success or failure when it comes to progressive machine embroidery. You need to take out time to learn digitization even when you do not do it by yourself. Just to understand the dynamics of it and how to bypass impossible situations or create key shortcuts. If not done right, it can cost a great deal of time and huge losses as well, so whether you are an embroiderer, contractor, or the guy who runs the machine, you at least need to know the basics of digitizing.
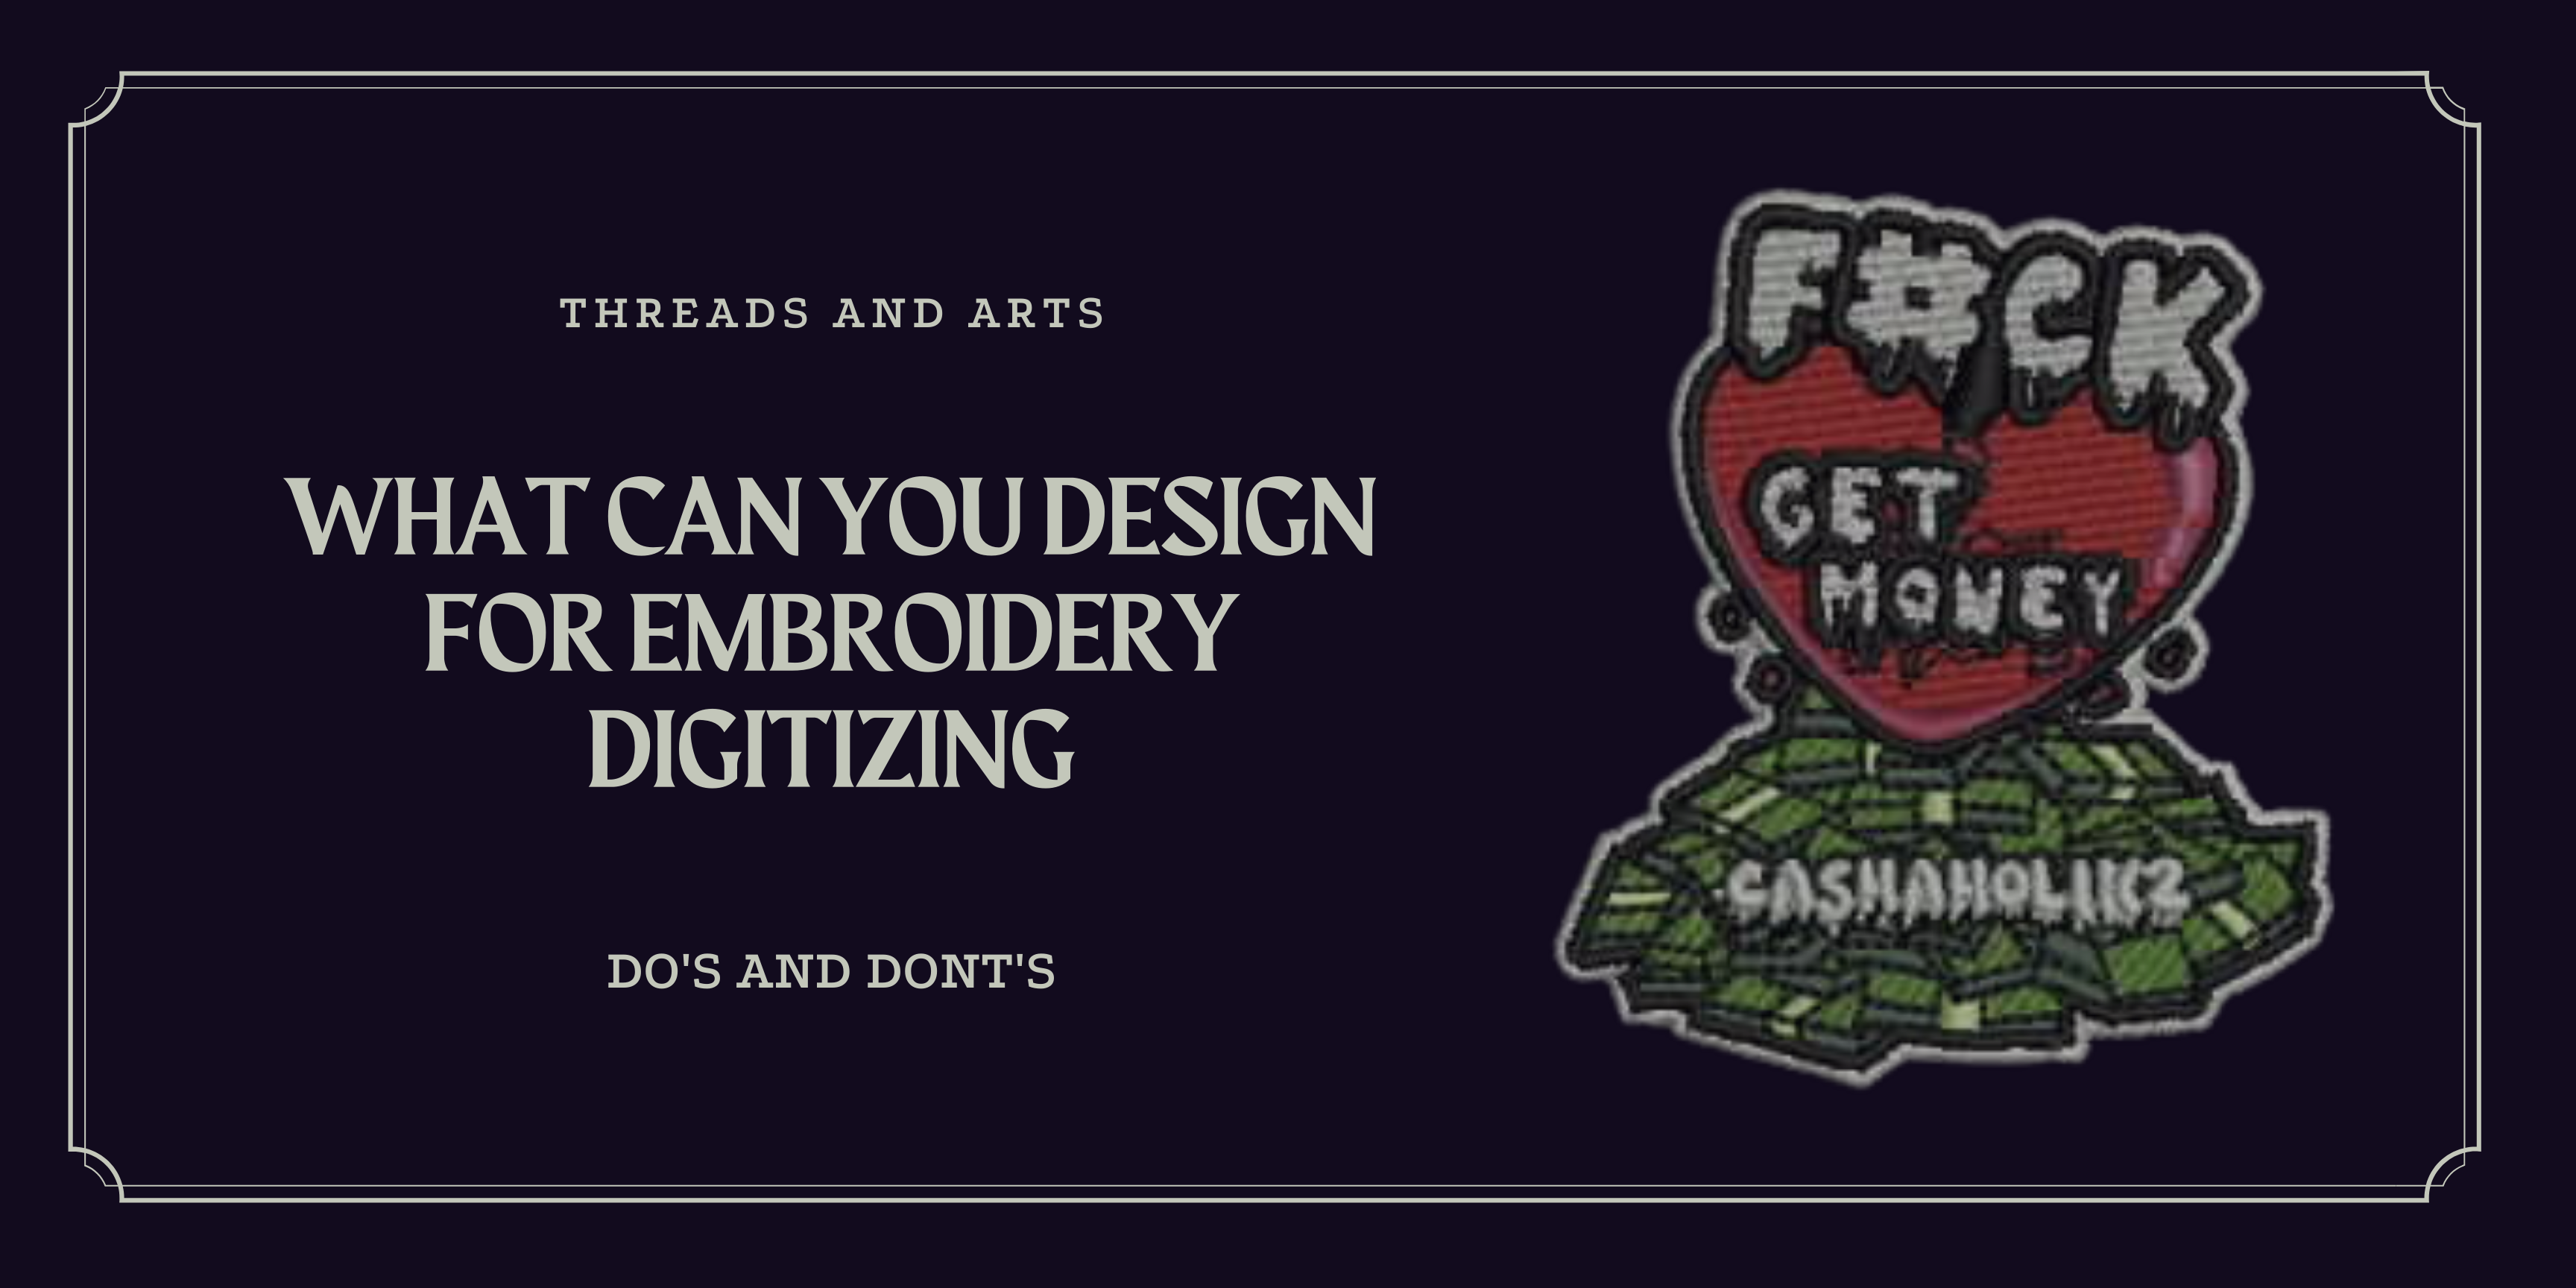
In today's times, most sports apparel, jackets, shirts, and the trending hip fashion nowadays makes digitization necessary for the manufacturer. If I were to put it in simple words, I would say that just like our body needs food to function, embroidery machines can't function without Digital designs.
While with digitization there is no limit to what can or can not be embroidered upon the shirts and towels or hats, there are still some things or actions that might limit the quality of your output. Today’s blog will talk about the most obvious mistakes the embroiderers make and how to avoid them while discussing the methods used by the amasses to accomplish a fine quality result.
Let's talk about the dos and don'ts of the embroidery digitizing; let’s start with theÂ
We know that there is no limit to what can be embroidered upon the piece of clothing with digitization. However, to carry out those tasks efficiently, one must keep the following things in mind.
One needs to ponder upon what they are going to sew on before putting it up for digitization. For example, a flat design usually meant for shirts will not produce great results on a cap because of its curved surface. Similarly, weaving a curved log on a shirt would not exactly produce the required output. That being said, certain design techniques work better on particular fabrics. A design digitized for jeans fabric would not produce good results on a stretchy fabric and may cause puckering and vice versa. The point is to have a clear idea of the logo and the fabric it will be embroidered.
It is certainly one of the key steps when it comes to the digitization of logos. While weaving the logo on the cloth, the machine must start with a placement stitch, move on to underlay, and then the topstitch. If the steps are done differently, the outcome produced will not be as clean, and you might have a distorted design in your hands. While doing digital embroidery, be sure to keep in mind the right stitch sequence, especially when it comes to hats, start from the centre and move outwards to avoid a screw-up.
Often certain designs require to be embroidered in a particular pattern. Stitch angle is the angle the needlework machine pursues. It can be any angle, horizontally, vertically, or diagonally. Designs with various elements often need to be embroidered by using different stitch angles, and it also creates the flow of the outlay. Utilizing just one kind of angle can make the sew-out boring and untextured, which might be unfulfilling for the client.
The importance of underlay is ignored by most of the new embroiderers. However, the old birds in the fields can confirm that the stability underlay provided to the fabric is surreal. It helps in stabilizing your design. Various types of underlays can be used, such as zigzags, fill stitches, the centre runs, etc. all these help the machine provide a smooth surface to stitch the design. Using an underlay while embroidering on a stretchy fabric is considered necessary. It prevents the logo from puckering and adds density to it, providing the design with a one of a kind look.
Now that we have talked about the dos of Digital embroidery, let's consider the don'ts, which are essential for a manufacturer to keep in mind as they don't want to mess up their consignments and contracts.
It occurs when the stitches are poorly sequenced due to which needle moves from one place to another in the frame, dragging the thread with itself, making the sew-out look low quality. Jump stitches are usually the consequence of poor digitized files or missing a key step while digitizing the file for machine embroidery. Poor sew-outs can increase labor intensity since you would have to manually remove the bad stitches on the product.
The individual distance between stitches is called density when it comes to weaving. It is a fairly important factor and can leave a huge impact on the weaved logo. A less dense digitized file will result in shorter stitch time and fewer broken needles. In comparison, too many dense files will cause broken needles, threads, and tears between the fabric. Moreover, too many dense designs become very stiff, which results in uncomfortable apparel or accessories.
In this article, we have mentioned everything that limits you when it comes to digital embroidery; however, Threads and Arts logo digitizing hand over flawless digitization of your designs and company logos you can always reach out to us as we have been doing digitization of files for over a decade a now and has more than relevant experience to avoid any of the mistakes mentioned above.
Your Comment successfully submitted. Thank you, Now waiting for Admin approval!
Copyright © 2025 THREADS & ARTS.