Signup today and get your first 3D puff logo digitized for just $10!
Become our Premium Member and enjoy exclusive discounts on all 3D puff embroidery and vector art services.
Elevate your designs with 3D Puff embroidery digitizing services from Threads and Arts. This technique adds texture, dimension, and a premium look to your embroidery, making logos and text stand out with a raised, sculpted effect. Perfect for hats, jackets, and sports apparel, 3D puff embroidery gives your brand a bold and professional touch.
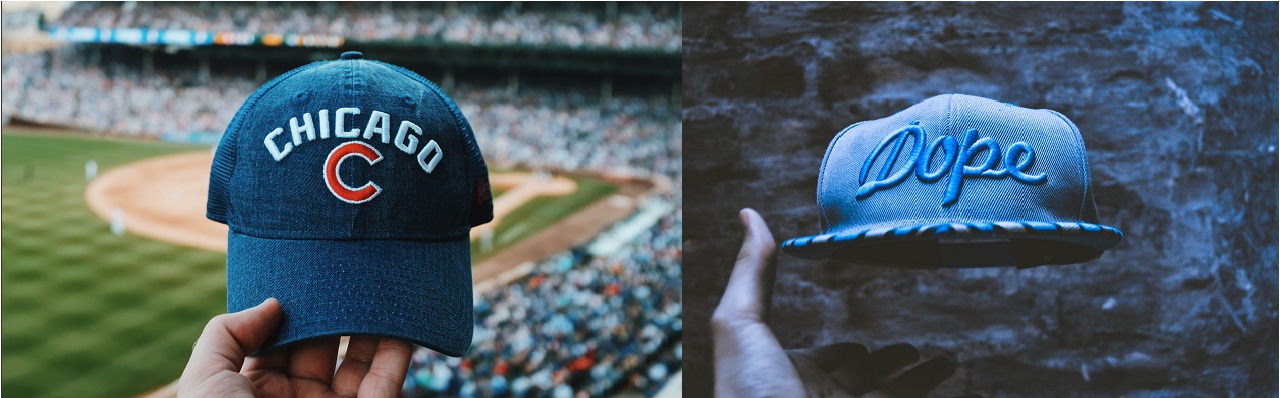
3D puff embroidery is a specialized technique that uses foam under the stitches to create a raised, three-dimensional appearance. It’s a popular choice for sports team logos, fashion apparel, and custom branding. You’ve likely seen 3D puff embroidery on baseball caps and letterman jackets — that stylish raised texture comes from expert digitizing and stitching precision.
Our 3D puff digitizing services USA are ideal for: • Embroidered Shirts • Hats & Caps • Jackets & Hoodies • Sports Team Uniforms • Promotional Apparel Each fabric and design type requires precise density, stitch angles, and foam thickness — which our experienced digitizers handle with perfection. Threads and Arts has years of proven experience producing durable, clean, and visually stunning puff embroidery.
Our process ensures smooth, high-quality stitching and lasting durability: 1. Digitize and sew all flat embroidery sections first. 2. Add a break in the machine sequence for puff application. 3. Place the foam carefully over the target area. 4. Stitch over the foam with proper density and border lines. 5. Tear away the excess foam cleanly. 6. Finish with detailed satin stitching and heat cleanup. For hat embroidery, we use customized puff techniques to ensure perfect curves and consistent design height.
At Threads and Arts, we specialize in 3D embroidery digitizing services in the USA that meet the highest standards of quality and precision. Our professional digitizers have years of experience in creating custom puff embroidery for logos, text, and complex artwork. Whether for sports teams, corporate apparel, or fashion brands — we ensure your designs pop with depth and accuracy.
We use premium digitizing software and advanced stitch strategies to ensure clean edges, proper underlay, and perfect foam coverage. With our competitive pricing, free edits, and fast turnaround (4–6 hours), Threads and Arts is your trusted partner for 3D puff logo digitizing USA.
• Always use experienced digitizers with 3D puff expertise. • Create color stops to control foam placement precisely. • Secure foam using light adhesive or tape before stitching. • Run a clean border first, then fill with satin stitches. • Tear off excess foam carefully for a clean finish. • Use a heat gun to remove any leftover foam particles.
The key to great puff embroidery lies in flawless digitizing — and that’s exactly what we deliver at Threads and Arts. Contact us today for professional 3D puff embroidery digitizing services that make your brand stand out.
Copyright © 2026 THREADS & ARTS. All rights reserved.